336x280(권장), 300x250(권장), 250x250, 200x200 크기의 광고 코드만 넣을 수 있습니다.
세 번째 프로젝트 순서
언어 : Python
패키지 : Tensorflow, Keras, NumPy, Maplotlib
툴 : Colab, PyCharm, Jupyter Notebook

여러가지 주제를 가지고 고민을 하다가 딥러닝을 제대로 배우지도 않은 상태에서 진행을 하려고 해서 쉽지 않았다. 그래서 이런 저런 자료들을 찾아보다가 '정보통신산업진흥원 주최 2020 인공지능 문제해결 경진대회 예선 문제' 데이터셋이 있어서 배운 것을 적용해보는 시간을 가지려고 했다.
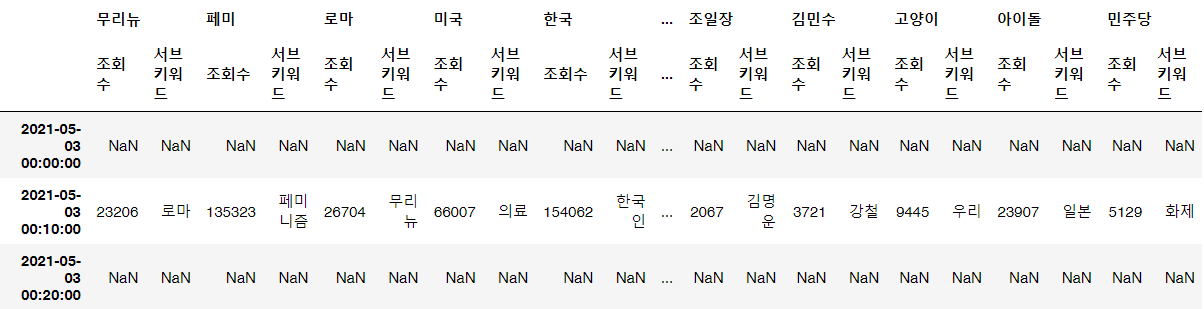
train 데이터가 16000개, test 데이터가 3997개로 구성되어 있었다. 하지만 test 데이터는 라벨링이 되어있지 않아서, 모델을 학습시킨다고 해서 딥러닝 모델이 얼마나 좋은지 성능을 평가할 수 없었다. 대회 자체가 워낙 폐쇄적이라서 현재 데이터도 이미 가지고 있던 팀원이 있어서 구할 수 있었다. 직접 전화도 해봤지만 정답을 알려주긴 어렵다는 말을 들었다. 그래서 추후에 데이터를 따로 수집을 했다.
|
1
2
3
4
5
6
7
8
9
10
11
12
13
14
15
16
17
18
19
20
21
22
23
24
25
26
27
28
29
30
31
32
33
34
35
36
37
38
39
40
41
42
43
44
45
46
47
48
49
50
51
52
53
54
55
56
|
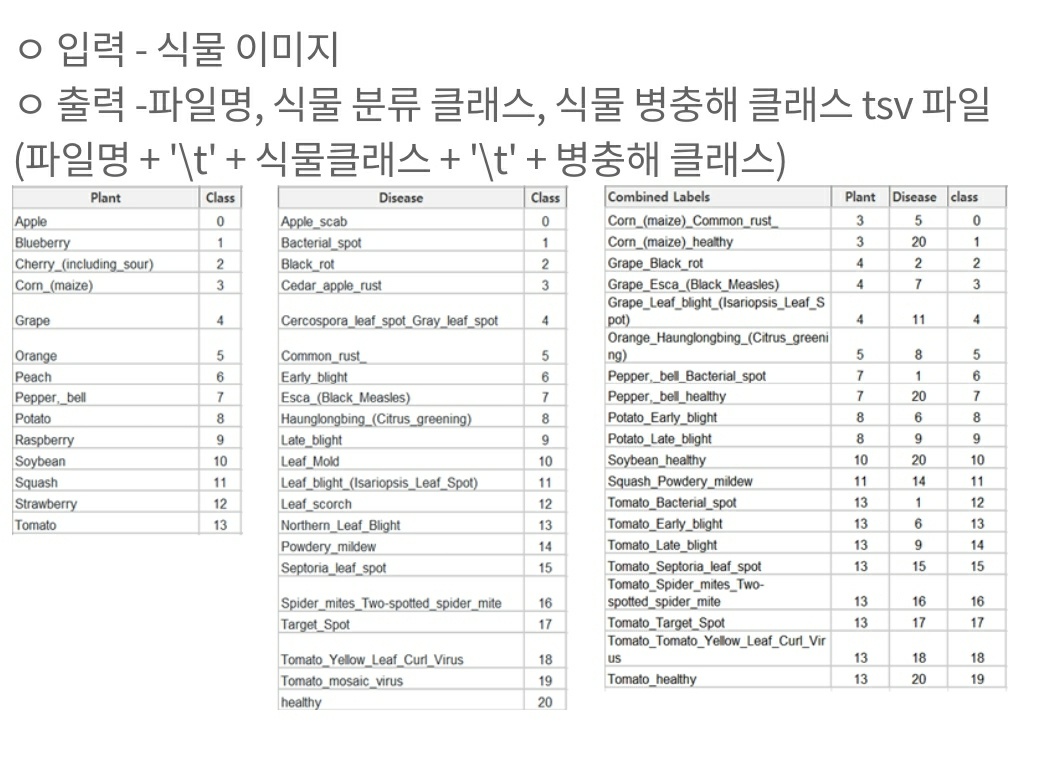
plant_label = ["Apple", "Blueberry", "Cherry_(including_sour)", "Corn_(maize)",
"Grape", "Orange", "Peach", "Pepper,_bell", "Potato", "Raspberry",
"Soybean", "Squash", "Strawberry", "Tomato"]
disease_label = ["Apple_scab", "Bacterial_spot", "Black_rot", "Cedar_apple_rust",
"Cercospora_leaf_spot_Gray_leaf_spot", "Common_rust_",
"Early_blight", "Esca_(Black_Measles)", "Haunglongbing_(Citrus_greening)",
"Late_blight", "Leaf_Mold", "Leaf_blight_(lsariopsis_Leaf_Spot)",
"Leaf_scorch", "Northem_Leaf_Blight", "Powdery_mildew", "Septoria_leaf_spot",
"Spider_mites_Two-spotted_spider_mite", "Target_Spot",
"Tomato_Yellow_Leaf_Curl_Virus", "Tomato_mosaic_virus", "healthy"]
combined_labels = ["Corn_(maize)_Common_rust_", "Corn_(maize)_healthy", "Grape_Black_rot",
"Grape_Esca_(Black_Measles)", "Grape_Leaf_blight_(lsariopsis_Leaf_Spot)",
"Orange_Haunglongbing_(Citrus_greening)", "Pepper,_bell_Bacterial_spot",
"Pepper,_bell_healthy", "Potato_Early_blight", "Potato_Late_blight",
"Soybean_healthy", "Squash_Powdery_mildew", "Tomato_Bacterial_spot",
"Tomato_Early_blight", "Tomato_Late_blight", "Tomato_Septoria_leaf_spot",
"Tomato_Spider_mites_Two-spotted_spider_mite", "Tomato_Target_Spot",
"Tomato_Tomato_Yellow_Leaf_Curl_Virus", "Tomato_healthy"]
len(combined_labels)
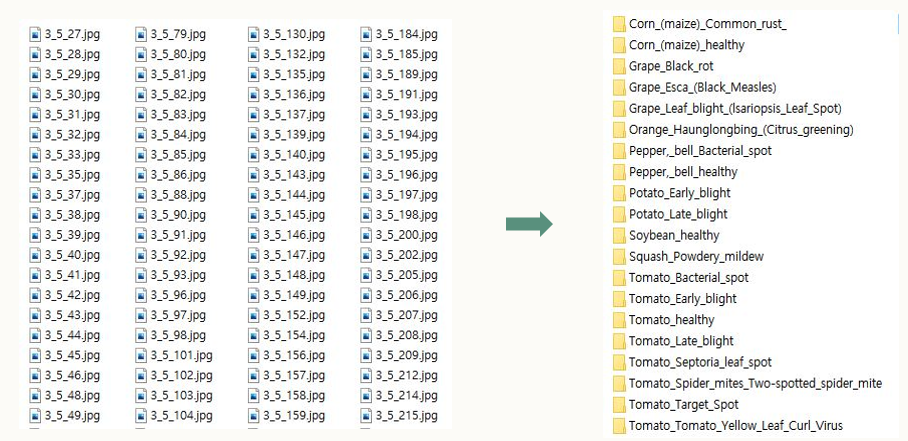
####################################################################################
#라벨 폴더 생성
import shutil, glob, os
path = "./train"
if not os.path.isdir(path):
os.mkdir(path)
for i in range(len(combined_labels)):
path2 = f"./train/{combined_labels[i]}"
if not os.path.isdir(path2):
os.mkdir(path2)
####################################################################################
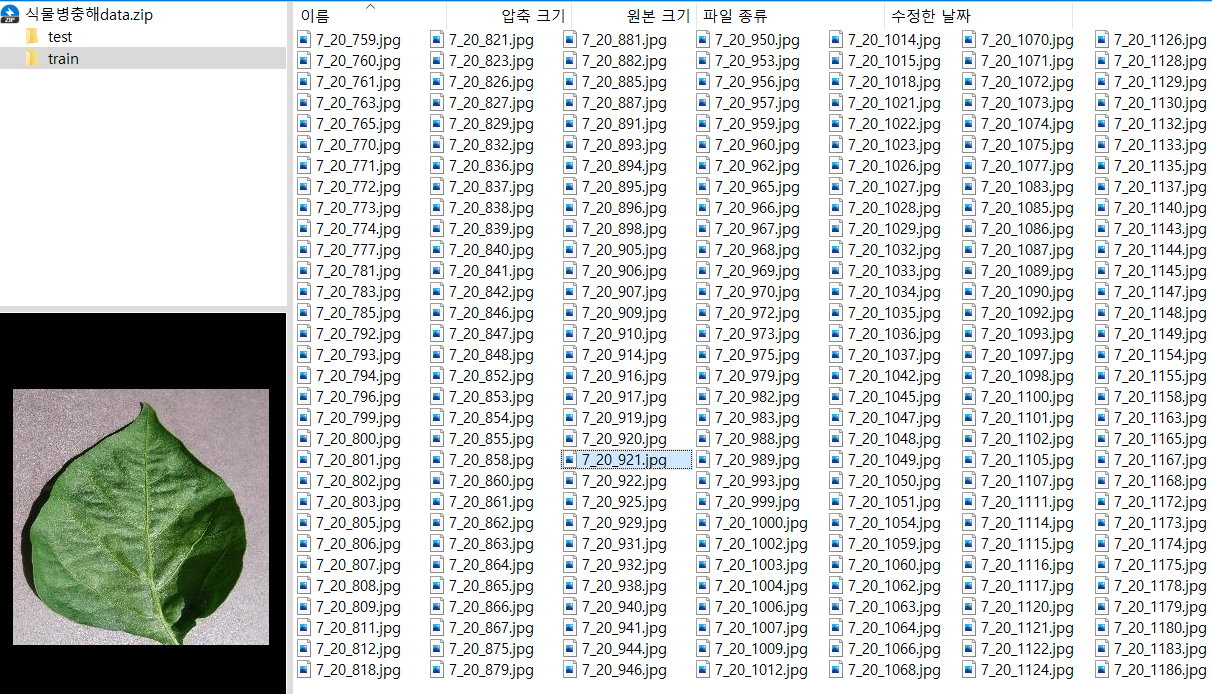
#사진 폴더별로 복사붙여넣기
path_data = './eda/식물병충해data/train'
file_list = os.listdir(path_data)
#plant_label 딕셔너리
list1 = list(range(14))
dict1 = dict(zip(list1,plant_label))
#disease_label 딕셔너리
list2 = list(range(21))
dict2 = dict(zip(list2,disease_label))
#
for i in range(16000):
cl_list = file_list[i][:-4].split('_') #이름을 나누기 plant + disease + 번호
find_name = dict1.get(int(cl_list[0])) + '_' + dict2.get(int(cl_list[1])) #Combined Labels 이름 찾기
if file_list[i] not in path_data :
shutil.copy(f'{path_data}/{file_list[i]}', f'{path}/{find_name}')
#print('복사완료')
|
cs |
폴더명이 숫자 클래스로 필요할 수도 있고 combined_labels로 필요할 수도 있어서 폴더명을 바꾸기 쉽게 수정하는 코드를 추가했다.
|
1
2
3
4
5
6
7
8
9
10
11
12
13
14
15
16
17
18
19
20
21
22
23
24
25
|
#class name으로 변경
from os import rename, listdir
path = "./train"
list3 = list(str(i) for i in range(20))
dict3 = dict(zip(combined_labels,list3))
for fname in os.listdir(path):
newname = dict3.get(fname)
if newname not in os.listdir(path) :
os.rename(os.path.join(path, fname), os.path.join(path,newname))
print("class name으로 변경완료")
#labeled_name으로 되돌리고 싶을 때
list3 = list(str(i) for i in range(20))
dict3 = dict(zip(list3, combined_labels))
for fname in os.listdir(path):
newname = dict3.get(fname)
if newname not in os.listdir(path) :
os.rename(os.path.join(path, fname), os.path.join(path,newname))
print("labeled name으로 변경완료")
|
cs |
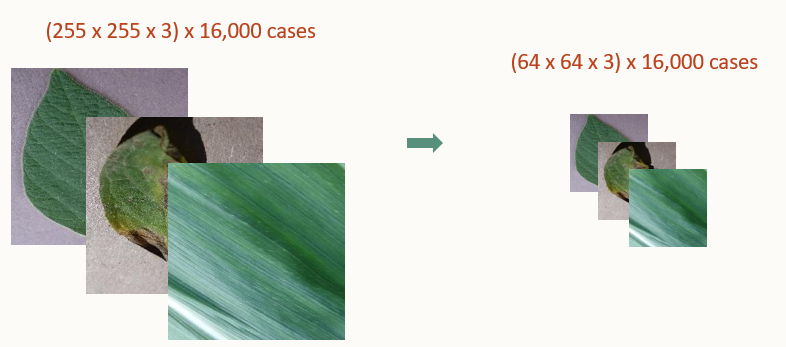
반복해서 학습을 위해서 numpy 배열을 npy 파일로 저장을 하려고 했다. 하지만 모든 팀원들 컴퓨터 사양이 좋지 않아서 이미지 사이즈를 128x128로 하려다가 다들 맛이 가서 64x64로 어쩔 수 없이 저장했다.. ㅠㅠㅠ
|
1
2
3
4
5
6
7
8
9
10
11
12
13
14
15
16
17
18
19
20
21
22
23
24
25
26
27
28
29
30
31
32
33
34
35
36
|
import os, re, glob
import cv2
import numpy as np
from sklearn.model_selection import train_test_split
groups_folder_path = './train/'
categories = list(str(i) for i in range(20))
num_classes = len(categories)
image_w = 64
image_h = 64
X = []
Y = []
for idex, categorie in enumerate(categories):
label = [0 for i in range(num_classes)]
label[idex] = 1
image_dir = groups_folder_path + categorie + '/'
for top, dir, f in os.walk(image_dir):
for filename in f:
print(image_dir+filename)
img = cv2.imread(image_dir+filename)
img = cv2.resize(img, dsize=(image_w, image_h))
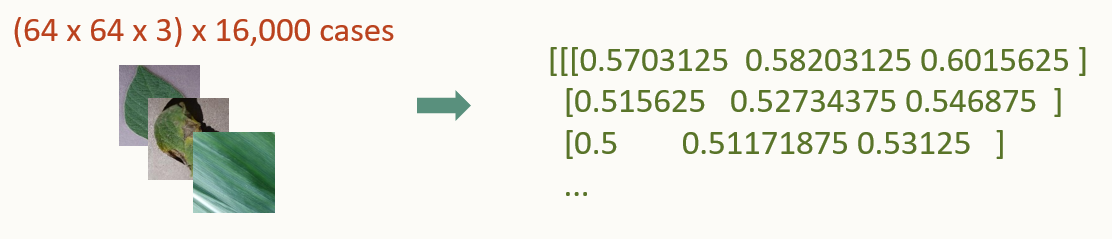
X.append(img/256)
Y.append(label)
X = np.array(X)
Y = np.array(Y)
X_train, X_test, Y_train, Y_test = train_test_split(X,Y)
xy = (X_train, X_test, Y_train, Y_test)
np.save("./img_data.npy", xy)
|
cs |
#NumPy 배열을 npy 외부 파일로 저장
'도전하자. 프로젝트' 카테고리의 다른 글
| 3-3 파이썬 프로젝트 CNN 식물 병충해 시각화 및 모델 개선 (0) | 2021.08.04 |
|---|---|
| 3-2 파이썬 팀프로젝트 CNN 모델링 - 인공지능, 머신러닝, 딥러닝 뭔데? (0) | 2021.08.01 |
| 2-4 파이썬 팀프로젝트 : matplotlib, smtplib 메일 자동화 (0) | 2021.07.19 |
| 2-3 파이썬 팀프로젝트 : 데이터 저장, 판다스 열/행 관련 총정리 + 폴더/파일 생성 (0) | 2021.07.18 |
| 2-2 파이썬 프로젝트 : BS4 웹크롤링, 형태소 분석, (0) | 2021.07.17 |